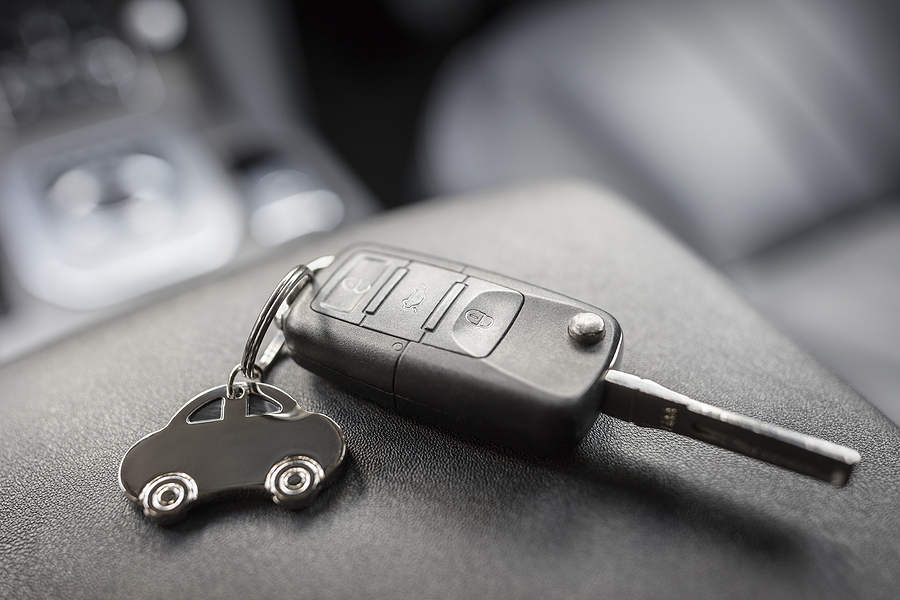
Losing your car keys used to mean a quick trip to the local hardware store for a simple metal replacement. Now, misplacing a modern car key fob is a deeply frustrating experience that can leave you completely stranded. Your daily routine comes to an abrupt halt, and the prospect of replacing high-tech automotive components can feel overwhelming.
Modern vehicle security relies on complex electronic systems that communicate directly with your keys. This advanced technology keeps your car safe from theft, but it also means that replacing a lost or damaged key is a highly technical process. When that digital connection breaks, regaining access to your vehicle requires specific knowledge, tools, and sometimes a significant financial investment.
Understanding how your vehicle’s entry system works is crucial for maintaining your car’s security and your peace of mind. We will walk you through everything you need to know about navigating the replacement process. You will learn how to identify your specific key type, recognize when a fob is failing, and make informed decisions about your replacement options.
Understanding Different Types of Key Fobs and Remotes
Before you can replace your car key, you need to know exactly what type of technology your vehicle uses. Automotive keys have evolved significantly over the past few decades, and each type requires a different replacement approach.
Standard transponder keys look like traditional metal keys but feature a plastic head containing a microchip. Introduced in the 1990s to combat theft, this chip communicates with your car’s immobilizer system. If the chip’s signal doesn’t match the vehicle’s computer, the engine simply will not start.
Remote keyless entry fobs operate alongside a standard or transponder key. They feature buttons to lock, unlock, and sometimes open the trunk or sound a panic alarm. These are typically standalone plastic fobs attached to your keychain.
Smart keys represent the newest generation of automotive entry technology. These devices stay in your pocket or purse while you unlock the doors by touching the handle and start the engine using a push-button ignition. Because they constantly emit a low-frequency signal to your vehicle, they contain the most advanced—and most expensive—technology.
Common Signs Your Key Fob Needs Replacement or Battery Service
Sometimes a key fob stops working entirely, but usually, it gives you warning signs before a total failure. Paying attention to these early indicators can save you from getting locked out of your car in a busy parking lot.
The most frequent issue is a dying battery. A properly functioning key fob battery typically lasts one to two years. If you find yourself replacing the internal coin battery more frequently than that, the fob’s internal circuitry might be drawing too much power or short-circuiting.
You might also notice a significantly reduced signal range. A healthy fob should easily unlock your car from 30 to 50 feet away. If you have to stand right next to the driver’s door and press the button multiple times to get a response, the remote is likely failing.
Physical damage, such as sticking buttons, cracked plastic housing, or water exposure, also compromises the internal components and signals that a replacement is necessary.
Where to Get a Replacement Key Fob: Dealerships vs. Locksmiths
When you need a new key, you generally have three main options: the automotive dealership, a mobile automotive locksmith, or an independent professional repair shop. Each route offers distinct advantages depending on your budget and urgency.
Dealerships provide guaranteed compatibility and manufacturer-backed warranties. They have direct access to your vehicle’s key codes and proprietary programming software. However, this peace of mind comes with a high price tag. Dealerships typically charge a premium for the part itself, plus a steep hourly labor rate for the programming service.
Automotive locksmiths offer an excellent alternative. Many operate mobile services, meaning they can come directly to your driveway or office. Locksmiths often carry the same programming computers as dealerships but charge significantly less for labor.
Professional repair shops also frequently invest in advanced diagnostic tools, allowing them to cut and program keys during routine automotive service appointments at competitive rates.
The Pros and Cons of Aftermarket vs. OEM Replacements
As you shop for a replacement, you will encounter Original Equipment Manufacturer (OEM) fobs and cheaper aftermarket alternatives. OEM keys are produced by your vehicle’s manufacturer. They are guaranteed to work seamlessly with your car’s computer, match the original design perfectly, and carry a warranty.
Aftermarket fobs are produced by third-party companies. While they cost significantly less upfront, they carry notable risks. Many drivers report weak signal ranges, poor button responsiveness, and frequent programming failures. Some aftermarket smart keys simply cannot communicate with advanced push-to-start systems, making them a risky investment for newer vehicles.
How Much Does Key Fob Replacement Cost in 2024?
Budgeting for a new key depends entirely on the technology inside it. Simple replacement keys without transponder chips cost as little as $10 to $20.
If you drive a vehicle from the early 2000s with a basic transponder key and a separate remote fob, expect to pay between $50 and $150 for the parts and programming. Laser-cut keys with integrated remote buttons typically range from $150 to $250.
Smart keys and push-to-start fobs represent the highest tier of replacement costs. The advanced proximity sensors and encryption technology drive the price up significantly. Replacing a smart key usually ranges from $200 to $500, with luxury European brands sometimes exceeding $800 per key.
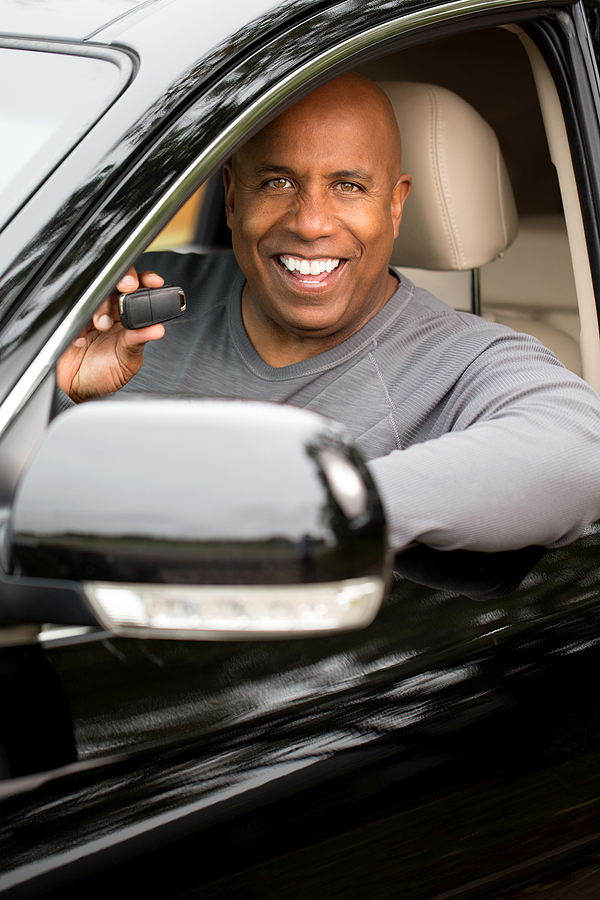
Can You Program a New Key Fob Yourself?
Many drivers wonder if they can save money by ordering a key online and programming it in their driveway. The answer depends heavily on the make, model, and year of your vehicle. Older vehicles often allow for self-programming through specific ignition sequences.
For example, some Ford models require you to close all doors, open the driver’s side door, and quickly turn the ignition from “Off” to “Run” eight times within ten seconds. On certain older Hondas, you turn the ignition to the “On” position, press the lock button on the remote, turn it off, and repeat the cycle multiple times until the door locks cycle automatically.
However, almost all modern vehicles manufactured after 2010 require specialized diagnostic computers to pair a new key. Manufacturers lock down these systems to prevent thieves from easily programming blank keys to steal cars. For most smart keys and modern transponders, you must seek professional assistance.
FAQs Section
Will my auto insurance cover the cost of a replacement key fob?
Standard liability or collision insurance rarely covers lost or broken keys. However, if your keys were stolen, your comprehensive coverage might reimburse you for the replacement and the cost of reprogramming your car’s computer to reject the stolen key. Some premium insurance packages or roadside assistance plans also offer specific lost key add-ons.
Can I buy a used key fob online and have it reprogrammed?
Purchasing used fobs is generally not recommended. Many modern smart keys are “locked” to the first vehicle they are paired with. Once programmed, the internal chip cannot be overwritten or paired with a different car’s immobilizer system.
What should I do if my smart key battery dies while I’m out?
Virtually all smart keys contain a hidden mechanical key inside the plastic housing. You can press a small release latch to slide the metal key out and manually unlock your door. To start the engine, place the dead fob directly against the push-start button or in the designated emergency slot in the center console. The car’s internal antenna will read the chip even without battery power.
Maintaining Your Vehicle’s Convenience and Security
A functioning key fob is an essential part of your daily driving experience. While replacing one can be an unexpected expense, prioritizing quality parts and professional programming ensures your vehicle remains secure against modern theft techniques. Taking action at the first sign of a failing battery or weak signal can save you the massive headache of being stranded.
If you are dealing with a faulty remote, a dead smart key, or need a spare programmed correctly the first time, our team is here to help. Contact us for professional automotive service and repair in Indianapolis, Indiana, and let us get you back on the road safely and securely.
Related Post: How to Diagnose and Solve Common Auto Electrical Problems